
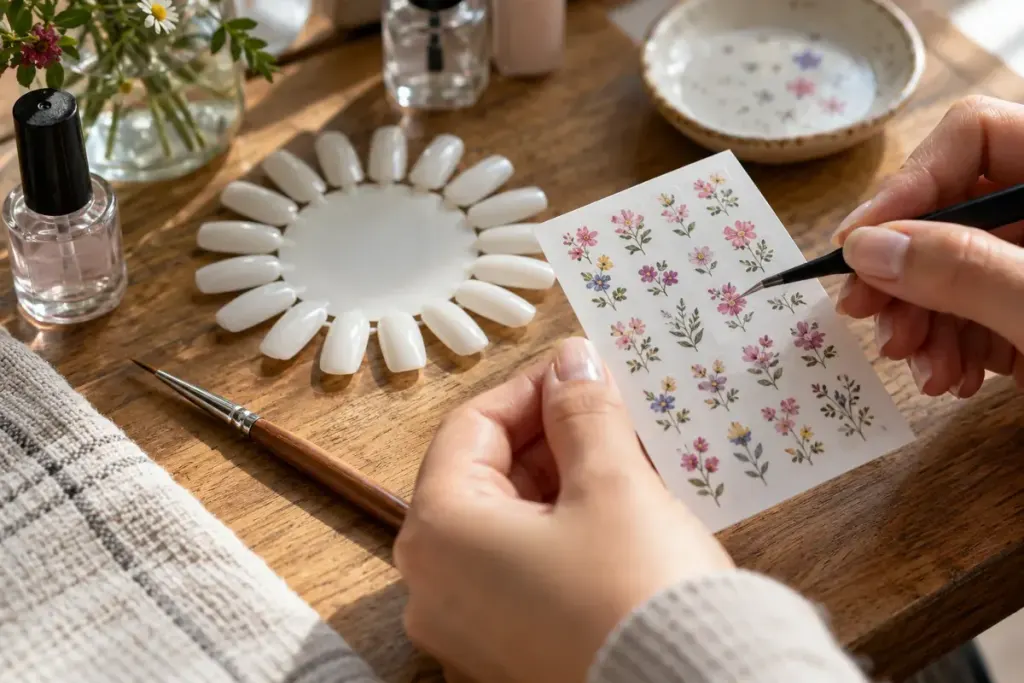
A tiny floral decal looks like the final easy step in a manicure, until it dents the colour underneath or refuses to leave its backing. Before opening the packet, identify what you bought. A peel-off sticker and a water-release transfer may look similar in a product photograph but need different preparation.
Read the directions for that exact product. For its own stickers, Olive & June instructs users to start with completely dry polish, smooth the design onto the nail and finish with top coat for longer wear. Those instructions explain that product’s sequence; they should not be assumed to cover every transfer, polish system or gel product.
Plan the position before peeling
Lay the sheet beside your hand and choose which designs will go on which nails. A flower that suits the thumbnail may crowd a smaller nail. Think about where the edges will sit, including the curve near the sides, instead of judging only the centre of the design.
A practice nail can help you compare arrangements without repeatedly lifting a sticker from a finished manicure. Try one small motif first. Leaving some colour visible around it often makes placement easier to assess than covering the entire nail with overlapping pieces.
Keep the finishing step compatible
Use the top coat or finishing process specified for your products. Do not add a curing lamp merely because another tutorial uses one; ordinary polish and products that require curing have different instructions. Let the manufacturer answer compatibility questions before combining systems.
If a design wrinkles or lifts, pause rather than burying the problem under repeated thick coats. Check whether the base was ready, the backing was removed correctly and the decal suits the nail’s curve. Follow the stated removal method if you need to restart.
Keep the packaging until you finish. The attractive design on the front is easy to remember, while the application sequence on the back is the part that helps you repeat a successful result next time.